Batomon Showdown How to Reach 10 Wins
A championship is a life budget, not a lucky Legendary.
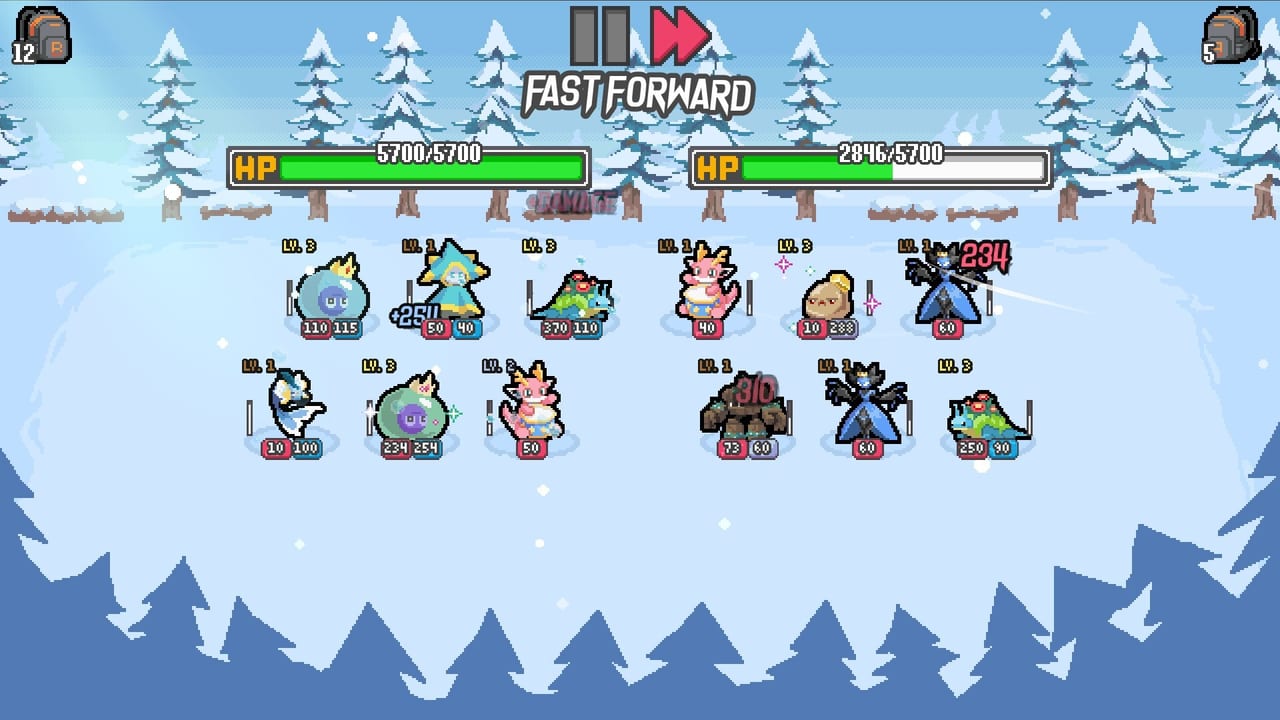
Ten wins is the normal finish line in Batomon Showdown. It is also the ranked scoring line: stars move by wins minus 5, so a 10-win run is a five-star promotion push and a 4-win run is a one-star loss. This page is the plan for actually collecting the trophies. Rules live on how to play. First clicks live on Getting Started. Rank math lives on how ranks work.
Budget lives like gold
You start with 10 lives. Costs: 1 on days 1–2, 2 on days 3–4, 3 from day 5 on. Second Chance revives you once to 1 life plus an event. After that, any emptied bar ends the run. A clean translation: you can afford learning losses early, and you cannot afford curiosity after day 5. If you are on 4 lives at day 6, you have one mistake left. Play the board you have, not the board a VOD showed.
Win streak is not a separate resource. Each Battle is a coin flip against a same-day snapshot. Early bots exist to teach. Later humans can be softened in low ranks. If you are still in Casual, the pool is trying not to crush you. Use that. Finish a Casual 10-win before you treat Ranked as practice.
Days 1–4: buy a recipe, not a zoo
The first shops exist to start a merge. Three copies of a trainer-relevant Common beat one lonely Super Rare. Bug Catcher should spend the free Bug. Youngster should spend free rerolls looking for a pair. Chef should find Fire. Chemist should find Toxic. Swim Coach will be handed Water; make space. Monster Ranger should protect the gifted Uncommon so the every-two-days copy can complete a level 2.
Events before day 3 are allowed to skip a recipe. A Bug Collector offering Brawlmantis with extra Multicast is often better than gold. Take the piece that plays on your trigger. Hold Lock for a missing third copy. Do not lock a 70-gold flyer you will not afford after the fight. The economy tool is blunt on purpose: if a unit does not merge this week, its gold had better be a combat engine.
Days 5–7: pick a core or die to 3-life losses
This is the page’s real lesson. At day 5 every loss is 3 lives. You need a recognizable engine:
- Formiqueen core: Commons adjacent for cooldown speed, Onsetra behind the Ongoing unit. Bumblebolt is the common Shock partner. See the comp tier list.
- Berroon core: items become berries, Craghorn scales on item use, Dryadell retriggers Grass above. You are an item addict on purpose.
- Plunderbird core: Water casts, gold on cast, Torrantler triggering adjacent Water, Sirenade stripping debuffs. Economy plus heal.
- Status cores: Shock (Battery Pack, Electric, multicast), Burn (Chef, Redhead, Fire), Poison (Chemist, Toxic, long fights). Pick one. Details on combat and Shock builds.
If your board is six unrelated level-1s at day 5, sell for a core even if it feels bad. The mid-article video is a finished 10-win Fire run. Notice the moment the player stops collecting cute units and starts feeding the Burn plan. That moment is the championship.
Mad Scientist’s day-7 transform is a scheduled identity crisis. If you queued that trainer, you should have been playing cheap throwaway copies, not a precious level-3 that becomes a random level-1 Legendary. After the transform, rebuild adjacency from scratch. Gamer’s day-9 Mythical is the opposite: you must still be alive on day 9. That is a mythical builds problem, not a day-2 problem.
Days 8–10: freeze, do not reinvent
Late shops are for last copies, last trinkets, and not dying to sudden death. Lock the missing level-3 ingredient. Buy shared HP if fights hit 30 seconds. Buy kill speed if you never dent Master-shaped boards. Dirgefin, Reapra, and Celestia are matchmaking-withheld for non-Masters; if you somehow have them, expect odd pairing. Do not greed Extended until the 10-win summary appears. Extended is a continuation to day 40 that does not pay extra ranked stars. Enable it in Settings after your first championship; it will not auto-start.
Second Chance on a late run is a shop with a heart on it. Take the reward that repairs the engine (copy, trinket, item uses), not a random Mythical you cannot position. Then immediately play conservative fights. A revive into a 3-life loss is just a slower defeat.
Ranked scoring reminder
After Casual 10-win unlocks Ranked, each finished non-Extended ranked run changes stars by wins minus 5. Five wins is neutral. Ten wins is plus five stars, which is a promotion if you were one star off. Overwriting an unfinished ranked save scores it immediately at the current win total. Do not start a “quick test” on a ranked file. Details on ranks.
If you stall at 7–8 wins, your problem is usually day-5 economy, not a missing Legendary. Reread shop and merging, pick a core from the Batomon tier list, and lock a trainer that prints that core from the trainer hub. Ten trophies are a plan you can write on paper before Battle.
Frequently Asked Questions
Quick answers to the most common questions.
Why do I keep dying at 7 wins?
Day 5+ losses cost 3 lives. If you arrive there without a merge core, two fights end the run. Pivot using the comp list.
Should I take Second Chance rewards like a late event?
Yes. Spend the revive event on copies, trinkets, or item uses that stabilize the board, then stop greeding.
Does Extended Mode give more rank stars?
No. The 10-win result is scored first. Extended days do not add another ranked payout. See Extended Mode and how ranks work.
Is a 10-win Fire or Shock run required?
No. Any legal core works. Fire, Shock, Formiqueen, Berroon, and Plunderbird are just the clearest engines in Balance 14.